在因緣際會之下,看到保哥有寫到一篇免費申請StartSSL,實在太棒了,趕快把對外HTTP的服務轉換成SSL服務囉,趁著這次的轉換也把筆記給寫下來。 主要步驟如下: (以下為SSL for Apache 步驟)
1. 產生Private Key & CSR
2. CSR 傳送至STARTSSL取得CRT
3. 設定SSL Private Key & CRT 路徑 & Redirect SSL
4. 測試SSL運作是否正常
1.產生Private Key & CSR
# openssl req -new -nodes -keyout barracuda.key -out barracuda.csr
Generating a 2048 bit RSA private key
…………+++
……………+++
writing new private key to 'barracuda.key'
You are about to be asked to enter information that will be incorporated
into your certificate request.
What you are about to enter is what is called a Distinguished Name or a DN.
There are quite a few fields but you can leave some blank
For some fields there will be a default value,
If you enter '.', the field will be left blank.
Country Name (2 letter code) [XX]:TW
State or Province Name (full name) []:Taiwan
Locality Name (eg, city) [Default City]:Taipei
Organization Name (eg, company) [Default Company Ltd]:China Most
Organizational Unit Name (eg, section) []:IT
Common Name (eg, your name or your server's hostname) []:www.barracuda.com.tw
Email Address []:[email protected]
Please enter the following 'extra' attributes
to be sent with your certificate request
A challenge password []:
An optional company name []:
# ls -l barracuda.*
-rw-r–r– 1 root root 1070 Aug 6 11:18 barracuda.csr -rw-r–r– 1 root root 1704 Aug 6 11:18 barracuda.key
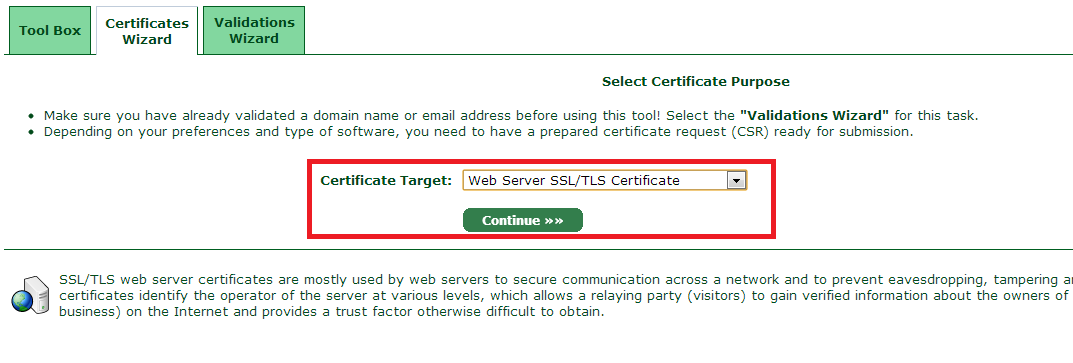
2.CSR 傳送至STARTSSL取得CRT 登入STARTSSL 網站,建立憑證,選擇Web Server SSL/TLS Cert
因為我的CSR & Private Key已經建立完成,所以直接跳過建立

#cat barracuda.csr
貼上CSR

點選繼續

新增網站Domain

設定Hostname

確認完成,準備產生CRT

完成CRT,並且貼入Web Server上

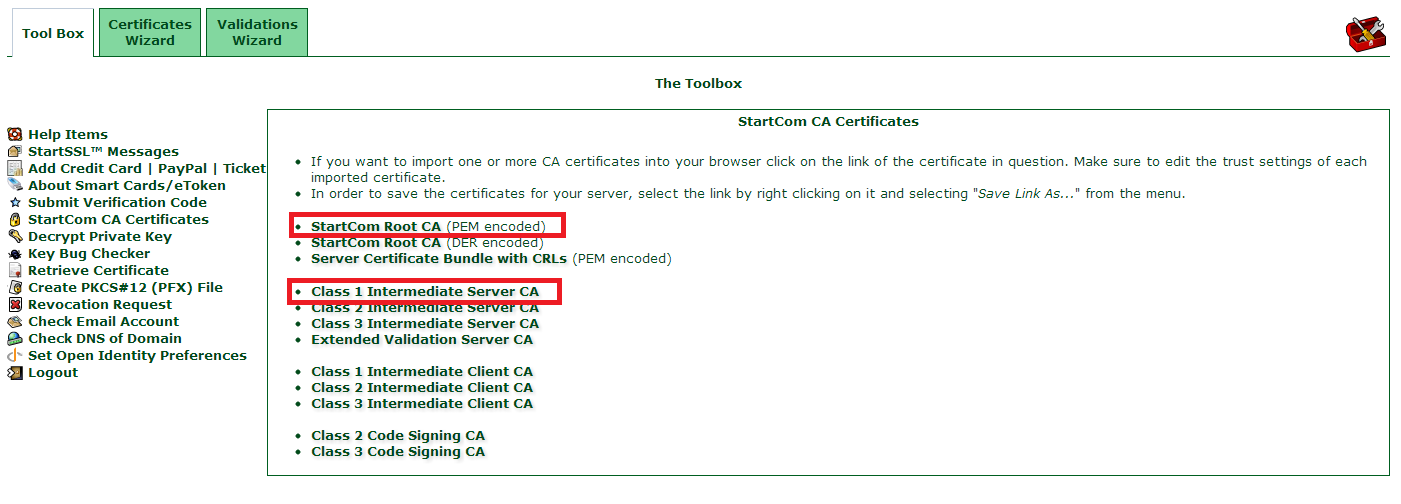
下載根憑證 & 中繼憑證 因為我們使用的是CLASS1 的憑證,可以從STARTSSL網站上下載,下載完成後一樣把憑證放入Web Server上
3.設定SSL Private Key & CRT 路徑 & Redirect SSL
#vi /etc/httpd/conf.d/www1.conf
Note:
把整個網站轉入SSL: Redirect permanent / https://www.example.com/
開啟SSL: SSLEngine on (需安裝 mod_ssl)
#yum install mod_ssl
憑證路徑:SSLCertificateFile
私鑰路徑:SSLCertificateKeyFile
中繼憑證:SSLCertuficateChainFile
根憑證:SSLCACertificateFile
使用mod_write 重新導入SSL 在網站跟目錄下新增.htaccess
#vi /var/www/site1/.htaccess
重新啟動Service
#/etc/init.d/httpd restart
4. 測試SSL運作是否正常
#openssl s_client -connect www.barracuda.com.tw:443
….省略…. Verify return code: 0 (ok)
補充個人常使用的openssl 轉換指令
cer+key 轉pfx
#openssl pkcs12 -export -in ssl.cer -inkey ssl.key -out ssl.pfx
crt+key 轉 pfx
#openssl pkcs12 -export -in ssl.crt -inkey ssl.key -out ssl.pfx
pfx轉key
#openssl pkcs12 -in filename.p12 -nocerts -out privatekey.key
pfx 轉 pem
#openssl pkcs12 -in ssl.pfx -nodes -out ssl.pem
產生自行簽發10年憑證
#openssl req -new -keyout ssl.key -nodes -x509 -days 3650 -out ssl.crt
查看產生的憑證內容
#openssl x509 -in ssl.crt -text
Refer: http://blog.miniasp.com/post/2013/01/10/The-Complete-Guide-Free-StartSSL-personal-and-web-site-ssl-tls-certificates.aspx http://blog.mowd.tw/index.php?pl=950 http://wiki.apache.org/httpd/RedirectSSL http://wiki.apache.org/httpd/RewriteHTTPToHTTPS